Translate

Showing posts with label Canning/Pickling. Show all posts

Thursday, June 2, 2016

Seeking Fruit & Adventures in Lilac Jelly Making

Helloodles Loverlies!

I am on a strawberry and rhubarb hunt, as I need to make compote and some healthy paleo pie. Canning and homesteading kick continue and I am getting calls from family and friends for ripe, ready to pick, perfect timing, come and get em' blooms and fresh food stuffs! 
Be excited! Be, be excited! 
          
We picked a huge amount of lilac and I have just been told that there is more for me to grab out in the country. It is cooler out there so the lilacs are blooming a bit later-whoohoooooooo! This means more jelly making fun in my future.
           
I came up with my own recipe and it is fabulous, if I do say so myself. The steeping liquid requires quite a goodly amount of lilac petals but it is well worth the effort. Plus, lilac petals are way easier to remove than dandelion petals.
           
My first test batch has become very popular and I am now adding this special mélange to my Etsy store roster.
           
I played with some different flavours and got something truly delicious and an absolute delight for the senses. Lilac and pineapple, such a wonder!
           
There were two attempts at steeping, I wasn't happy with the first so I created my own recipe and it gave a much more vibrant colour than the yucky pic above and the one below , top right. The bottom pics show the difference.
           
Rocky slept most of the time, except when he heard the fridge door opening and thought chicken cold cuts were coming his way.
           
He was so cute while the flowers were steeping because he was super sniffing at the very fragrant air. This was my first batch, for some reason I was very messy when making this as opposed to when I made the dandelion jelly. I had forgotten to line a tray with parchment paper and instead made a globby spill-fest, on a cloth instead of the tray; which was rather sticky by the time I reached the finish line.
           
It jelled beautifully and everyone who has tasted it has been enchanted by its subtle fruity and floral notes.
           
I thoroughly enjoyed it on my waffles and will be having some more tomorrow, that's if there is any left. The next batch will need to be bigger mason jars, as it seems to be rather popular. I won't be giving the recipe for this because it will be for sale in my soon-to-come Etsy shop but it will be part of my launch giveaway along with the dandelion jelly. For now, just enjoy the prettiness and smile.
                   
And remember:


Tuesday, May 31, 2016

Dandelion Jelly Recipe Discovery!

             
Dandelions taste yummy as jelly, who knew?
Bon matin world,
I am sharing a recipe that comes from teaspoonofspice.com for a special dandelion jelly that you need to experience; at least once in your life. 
As you know, I have been homesteading, and canning is my latest kitchen love affair. Poppa Bear is alright with this as he gets to taste the "fruits" of my labours-don't pardon the pun.
           
It's truly fabulous, we were all a tad bit unsure as these weeds are usually frowned upon and seen as more of a horrible nuisance than a delightful bloom.
As it's spring and the chill allowed for flowers and weeds to come out a bit later than usual, I had a safe amount of time to pick these yellow flowers/weeds, to try this new fangled recipe I had stumbled across. I had never ever heard of dandelion jelly before and was truly curious and admittedly, slightly nervous. 
I had eaten organic dandelion greens when I had worked in a healthfood store years ago, can you say B-I-T-T-E-R? 
Whoa la! 
The tea I had also tested was a bit better and it's a diuretic, so I thought it was an okay thing to try. But I had not really enjoyed dandelion. Now it's years later and I am out picking them for jelly making, the inter web had assured me it would not be bitter at all. 
I went out when we had some bright and warm sunny weather and gathered from our back lawn. It was a carpet of dandelions and I preferred to snag them from there as no dogs had pee or poop time on them; and I knew they were pesticide free. Important things to consider when you are going to be ingesting anything you pick.
So, here's the thing that nobody is going to tell you about making dandelion jelly. You only use the petals, you need 3-4 Cups of them depending on the recipe, and it is a long process to get those petals out. I am serious! 
It took hours to get enough petals to make one small batch. It's tedious work because you have to pull the petals out from the green part, you cannot have any of it as it will make the jelly cloudy and bitter-ugh! This means 3 or so hours (get someone to help) of gently but firmly pulling, plucking, removing, and admittedly some yucky yellow stained hands. There may have been some doubts at the midway point, as to why I had foolishly taken up this task. 
Be warned, get comfy, listen to some good jams, and have beverages on hand. We sat out back in the shade under the tree and it took about 3-4 hours to get the 4 cups I used. I have been kind enough to provide you with a different recipe from the one I made, which only uses 3 cups. Trust me, you will appreciate it by the second cup of dandelion petal seperating. 
Despite all the irritating time it took, I must say, that I was pleased to have tried this as the recipe yielded a delightful and novel taste; that was uniquely addictive.
Enjoy it!

Dandelion Jelly
Makes About 5 1/2 cups
Ingredients
  • 3 cups packed very fresh dandelion blossoms (from unsprayed plants!)
  • 4 cups water
  • 4 cups sugar (don't use less or jelly won't gel)
  • 1 box powdered pectin for less sugar recipes
  • 2 tablespoons bottled lemon juice (fresh lemons have varying acidity - so us bottled)
  • 1 drop yellow food coloring if desired (without this coloring is a bit more greenish)
Directions
  1. Using your thumb fingernail, cut and pluck the yellow blossom out of the tiny green leaves holding it. (Your thumb will get sticky and the flower will separate into petals.) Remove as much of the green as possible because green is bitter and turns the jelly green; I had just a tiny bit of green on almost each blossom.
  2. In a medium saucepan, bring water to a boil. Add 1 1/2 cup blossoms; turn down to low and cook for 10 minutes. Turn off water and steep for about 15-20 minutes. Using a fine mesh strainer, strain out and gently push on blossoms to remove some of the water. Add water back to saucepan and bring to a boil. Add remaining blossoms; simmer for 10 minutes and strain out blossoms, pressing to remove water.
  3. Measure steeping liquid to 3 cups; add sugar, pectin, lemon juice and food coloring and bring to a boil, stirring until sugar dissolves. Boil for 1 minute, then skim off foam with a wooden spoon.
  4. Pour into hot sterilized half-pint jars leaving 1/4-inch headspace and store in the refrigerator - or process according to canner manufacturer's instructions.
Notes
This great idea is from the cookbook "Cider Beans, Wild Greens, and Dandelion Jelly." If you can't collect enough dandelion blossoms at one time, freeze your collection until you have enough.
Use the jelly on lemon scones, crackers with goat cheese or cream cheese, warmed to glaze BBQ chicken, in salad vinaigrette or almost any way you use honey.
Here are pics of my dandelion jelly adventure:
         
I steeped my petals overnight in the fridge after letting them cool on the counter for about 2 hours.
       
I used liquid pectin as I was out of the powdered kind, do what works for you just make sure your liquid to sugar ratio works with your amount of pectin or else it won't gel. I also used 1/4 Cup of lemon juice in my recipe and would highly recommend using fresh juice in place of bottled if you can. The gelling will be much better. I also did not need any added colour as steeping the petals overnight yielded a stronger colour.
       
As it was my first time ever making jelly and canning, I used some mason jars and some jars with lids I had on hand. I did the whole sterilizing thing before, as well as processing them according to a Bernardin canning book I have and their website info I had researched. The bottom right pic above lid is being pointed to because I had not noticed the ding in it. It turned out that one jar ended had some water seepage. 
It's okay, we sacrificed ourselves and ate that one as a tester. The recipe had jelled so well that I was easily able to drain the excess water when it was cool enough to handle.
           
So, taste wise I am going to give this a solid 4 out of 5. It's a four because the first bite was initially a bit stronger than expected, slightly off putting but the more we chewed the more we like it and the more we wanted. Yeah, it was a cool experience and I will definitely make more which I will give as gifts, sell in my soon to come Etsy shop, and I may have a giveaway or two that will include a jar of this.  
           
I tried it on plain toast and on toast with cream cheese, the taste was slightly honey-esque with earthy notes and a sweet deep finish. Very pleasant. 
        
You need to try this out and get the little one's involved in helping you to pick the dandelion heads. As a child I used to bring my mother dandelions to show her I loved her, not realizing they were considered a yuckie weed. She would say thank you and put them in water to let me know she was happy I was showing her love with something I thought was beautiful. They always seemed to vanish before the next morning though. Times have changes, now she appreciates my picking them as the jelly is something I give as a gift, and it disappears quickly for entirely different reasons.
             
Leave questions or comments down below and let me know if you try this out. I love to hear about your kitchen adventures, don't forget to subscribe and God bless!


Wednesday, April 13, 2016

Day 13 Self-Love Detox Challenge and Recipe for Pickled Daikon, Carrots & Cucumbers for Banh Mi Sandwiches

                           
Hello one and all!
We have quite a few recipe posts this week, this one is really easy.
These Banh Mi pickles are what give a delectable, crisp, vibrant snap to sandwiches in Vietnamese restaurants. 
                      
I personally like to use them in vegetarian dishes and I am posting this recipe because you are going to need it for this Friday's up and coming menu plan. I like to make these at least 48-72 hours in advance so that they have the right flavour. I suggest you do the same, you'll quickly come to use these in salads, rice paper rolls, with fish and other main meals.

BANH MI PICKLED DAIKON & CARROTS
Ingredients:
1 Cup Water
2/3-1 Cup Rice Vinegar ( depending how vinegary you like them, I use the lesser amount)
2 tsp salt
1/4-1/2Cup Honey (depending how sweet you prefer them)
1 Cup Carrots cut to matchsticks
1 Cup Daikon radish cut to matchsticks
(Can add 1/2 Cup Cucumber cut to matchsticks)

Method:
-In a pot heat all liquids with honey & salt until simmering, turn off heat.
-Place vegetables in a mason jar large enough to fit vegetables and leave room for liquid.
-Once all are in, pour still hot liquid over all, then cover with a lid and place in refrigerator.
-For first 48-72 hours, once a day shake up the jar.
-Keeps in pickling liquid for 2-3 weeks.
                   
                    So good, I added cucumbers to this batch but sometimes I don't.
                     
                    Enjoy and leave comments or questions down below!


Monday, March 14, 2016

Pickled Red Onions in Ginger & Juniper Berry Brine


Bonjour!
That beautiful pink delightfulness is a jar of homemade pickled onions, that I am officially cracked out on! I have also managed to get my son addicted and got repeated requests for more. We have been serving them with all kinds of stuff, I used them in a dressing, as a side with some grains, but I am loving them in shredded spiced chicken sandwiches. I have eaten a sandwich with these in them every lunch for the last 5 days and feel that is absolutely fabulous! Check it out:
             
My family and I enjoyed them at a recent dinner party and I was happy that just after 24 hours of marinating, the onions were well pickled with good flavour. I still think they are better the longer they sit though, we had happy faces all around at the dinner table. There was mucho trash talking and laughter after supper when we played Sequence, we have some seriously competitive personalities in our group. 
                     
                 My son getting teased about his double loss by his girlfriend.
                       
                                Asking him to show us his defeated face
                       
                            Asking her to show us her happy, I won face!
                       
My brother and I stayed out of it, made them stick to the rules, laughed at the trash talk and enjoyed hanging with our pooch, The Rockstar! Aka Rocky. He wasn't very good at holding still for pics thanks to all the boisterous activity.
                             
       We topped off the evening with my oft requested black bottom maple pecan pie.
               
It's one of our absolute favourite desserts and I am just happy to have gluten-free pie that has an awesome crust with my beloved pecan pie filling.
I knew Poppa Bear was a keeper when I found out he likes pecan pie too, first time out together for supper, he allowed me to sneak some filling from his triple serving and that was a reason for extra smooches!
                 
I love how flaky this crust comes out and the toasted pecan filling is extra scrumptious. I make it only 2x a year because I do it the old fashion way with corn syrup, I have tried other methods but it does not yield the same filling results. As a Chef I think some things need to be respected and traditions followed. I am just not willing to sacrifice quality and taste for healthy methods where desserts are concerned. It's dessert, a special treat, do it right I say! I am putting this recipe into my cookbook, so I am sorry to say it will not be going up on the blog.
Pickled onions, right. Shall we?
When you start off making them they look very pekid and really plain, the smell of the pickling liquid is also not great & will cause kitchen stinkies but as a few days go by, you realize these babies sure are worth the wait!
This is what they looked like when I first put them in my brine marinade.
                
Different weren't they?
I know most recipes call for plain vinegar but I am a flavour punch kind of woman. I want to be delighted and enthusiastic about the first bite and all those that come thereafter. Of course that means making these my own by throwing in a variety of ingredients that help your taste buds stand at attention. 
How I do this is by adding juniper berries aka gin berries, along with ginger and other bright flavours. 
They are quite ridiculously easy and go well with vegetables and meat; pickling and canning may just become your new thing after you try these! 

Pickled Red Onions in Ginger & Juniper Berry Brine
Ingredients:
2 Large Red onions sliced thinly
5 Medium Size Slices of ginger with skin on
6 Whole allspice berries
8 Whole Juniper Berries 
6 Whole Black pepper 
Pinch fresh cracked black pepper
1 1/2 -2 Tbsp Kosher Salt
2 Whole Bay leaves
1 Stick cinnamon
1 Clove garlic Sliced
1 Lime juiced ( can use 2 if you like)
1/2 Cup Apple cider vinegar
1/4 Cup Rice Vinegar
1/4 Cup Gluten free white vinegar
3/4 Cup Boiling water
1/4 Cup Honey
2-3 Tbsp Coconut sugar (depends how salty sweet you like your pickles)

Method:
-Place sliced onions in a large wide mouth Mason jar
-In a non-reactive pot place all other ingredients, bring to a boil. Turn off heat and allow to sit for 5 minutes to cool slightly.
-Using a canning funnel, pour marinade over onions. Close with lid and shake well.
-Place in fridge and allow to marinade at least 2-3 days, shaking them once in a while.
These last a few weeks in the fridge, feel free to use a sterilized and sealing canning method if you want to make batches of these and keep them stored in the pantry for later use or to give as a gift. 


Hope you enjoy, comments below, and here's some Rockstar fluffers cuteness before I sign off...


Friday, October 2, 2015

Strawberry Apple Fruit Slather & Ode to Fall Starts


As we begin our ode to fall, I am including a simple, delicious and pretty, fruit slather. It uses up the last batch of Quebec's summer strawberries, with the addition of apple and maple syrup; which is still in the fall vein. Think of this as a sweet summer goodbye and a bright fall helloodles!
I am big on buying and using locally grown and sustainable foods/goods. Especially from small local businesses. It's better for the planet, freshness, quality, interesting varieties that are waiting for discovery, and most importantly it helps out our neighbors. This means that we in turn are growing our economy and showing that we care about what goes on our plates and what the impact of our purchases are. I hear many people frustrated with what's happening in the world but unsure how they can affect change. The easiest way is to make a difference through your buying power, I know organic is not always feasible but try to switch to organic for things like carrots and celery or kale. Make an effort to check labels and look for the local name, avoid gmo's and push for mandatory labeling of these Frankenstein foods. Most importantly, don't buy food with ingredients you can't pronounce, don't recognize as food, nothing artificial, and stay away from too much sugar, bad fats, and salt. In the meantime, here's a pretty recipe, feel free to use frozen strawberries if you need, just reduce the juice by half. This recipe is different than the compote as it is thicker, it holds up well as a topping and pre-cooked pie shell filling or maybe even a turnover filling.

STRAWBERRY APPLE FRUIT SLATHER
Ingredients:
Strawberries
1 Apple for cooking
1/2 Cup Real apple juice
1/4 Cup Maple syrup
2 Tbsp Organic coconut sugar
1 tsp Vanilla extract
Pinch pink sea salt
1 Tbsp Potato starch mixed with water to form a thick paste, about 2 Tbsp.

Method:
-In a medium non-reactive, heavy based saucepan, add all *ingredients EXCEPT maple syrup and potato starch. Keep the last two aside for now.
-Bring what is in pot to a boil, reduce heat to medium and stir.
-Add maple syrup and stir. Allow to cook on medium heat for 20 minutes, stirring occasionally.
-Add potato starch/water mixture into pot, stir right away until thoroughly incorporated. Allow to cook for 2-3 more minutes until thickened. If you run your finger through the back of a spoon coated with the mixture, it should leave a line. Turn off heat and remove to hot plate, allow to cool.
-Once cool, you can fill in jars. This recipe is not a canning recipe, it is really meant to be kept refrigerated and eaten within 2 weeks maximum.
-You can use the filling in an already cooked pie shell, as a dessert topping for cake/coffee cake, on ice cream, to layer a parfait, serve with pudding or whipped cream. The possibilities are limited to your imagination. I love it on toast and to eat just by itself with yogurt.


                                           Local labels, check for em'.

                                          These strawberries made my heart happy.

                    Use only real brown, fresh squeezed apple juice. Not that yellow pee-pee yuck.


Chef's try to pretend they don't make mistakes, pthhhhh.
Look at this mess I made when I started washing the dishes and turned my back to the pot. I made a messy booboo and that's fine, just clean up after yourself like I did, once it was cool to the touch.
I reuse a lot of glass jars, I like the look of them with finished food products I make, plus they are much more easy to sanitize. I like the different shapes and specialty bottles with cool glass add on's.


I hope you enjoy the recipe, leave your comments down below and don't forget to subscribe.
Happy October everyone!

Monday, August 17, 2015

Strawberry Rhubarb Compote/ Pie Filling (refined sugar free)


Hey people, I am finally starting to feel better and am back with some recipes this week and I will be aiming to post a review as well. Thanks for being patient and continuing to check in while I was away.
Before we get to the lovely Compote recipe you came to check out, I want to say a very big
HAPPY 3 YEAR ANNIVERSARY to my beloved. 3 Years ago today my peanut butter asked his raspberry jam to be his girl and she said yes! We have been love boids ever since and I am feeling super blessed, blissed out, and very grateful for this huge gift Abba brought to our lives. I love you honey tongue!


Back to food.
So, we went to my aunt and uncles place just before I got sick, and I was really happy to get away from all the noise and concrete jungle of suburban life. They don't live in the country but they are at the midway point, far enough to be surrounded by houses with space and modern conveniences but a ways out enough, that it feels calmer, you feel like it's easier to breathe and much more relaxed. Cool thing is that my aunt has a garden and has been big on growing rhubarb, which I got to bring a bunch of home! If you didn't know, I adore this stuff. It's tart, tangy, bright, and mingles so well with strawberries that I go a bit nuts when I get my hands on it. I have been known to scoff it down without feeling guilty that I finished a whole mason jar in less than two days. Shocking I know, reminds me of the organic turkey bacon incident of 2013. Don't ask, Poppa Bear still brings it up with a tone of disbelief and reprimand every chance he gets, and I am still so okay with it. Teehee

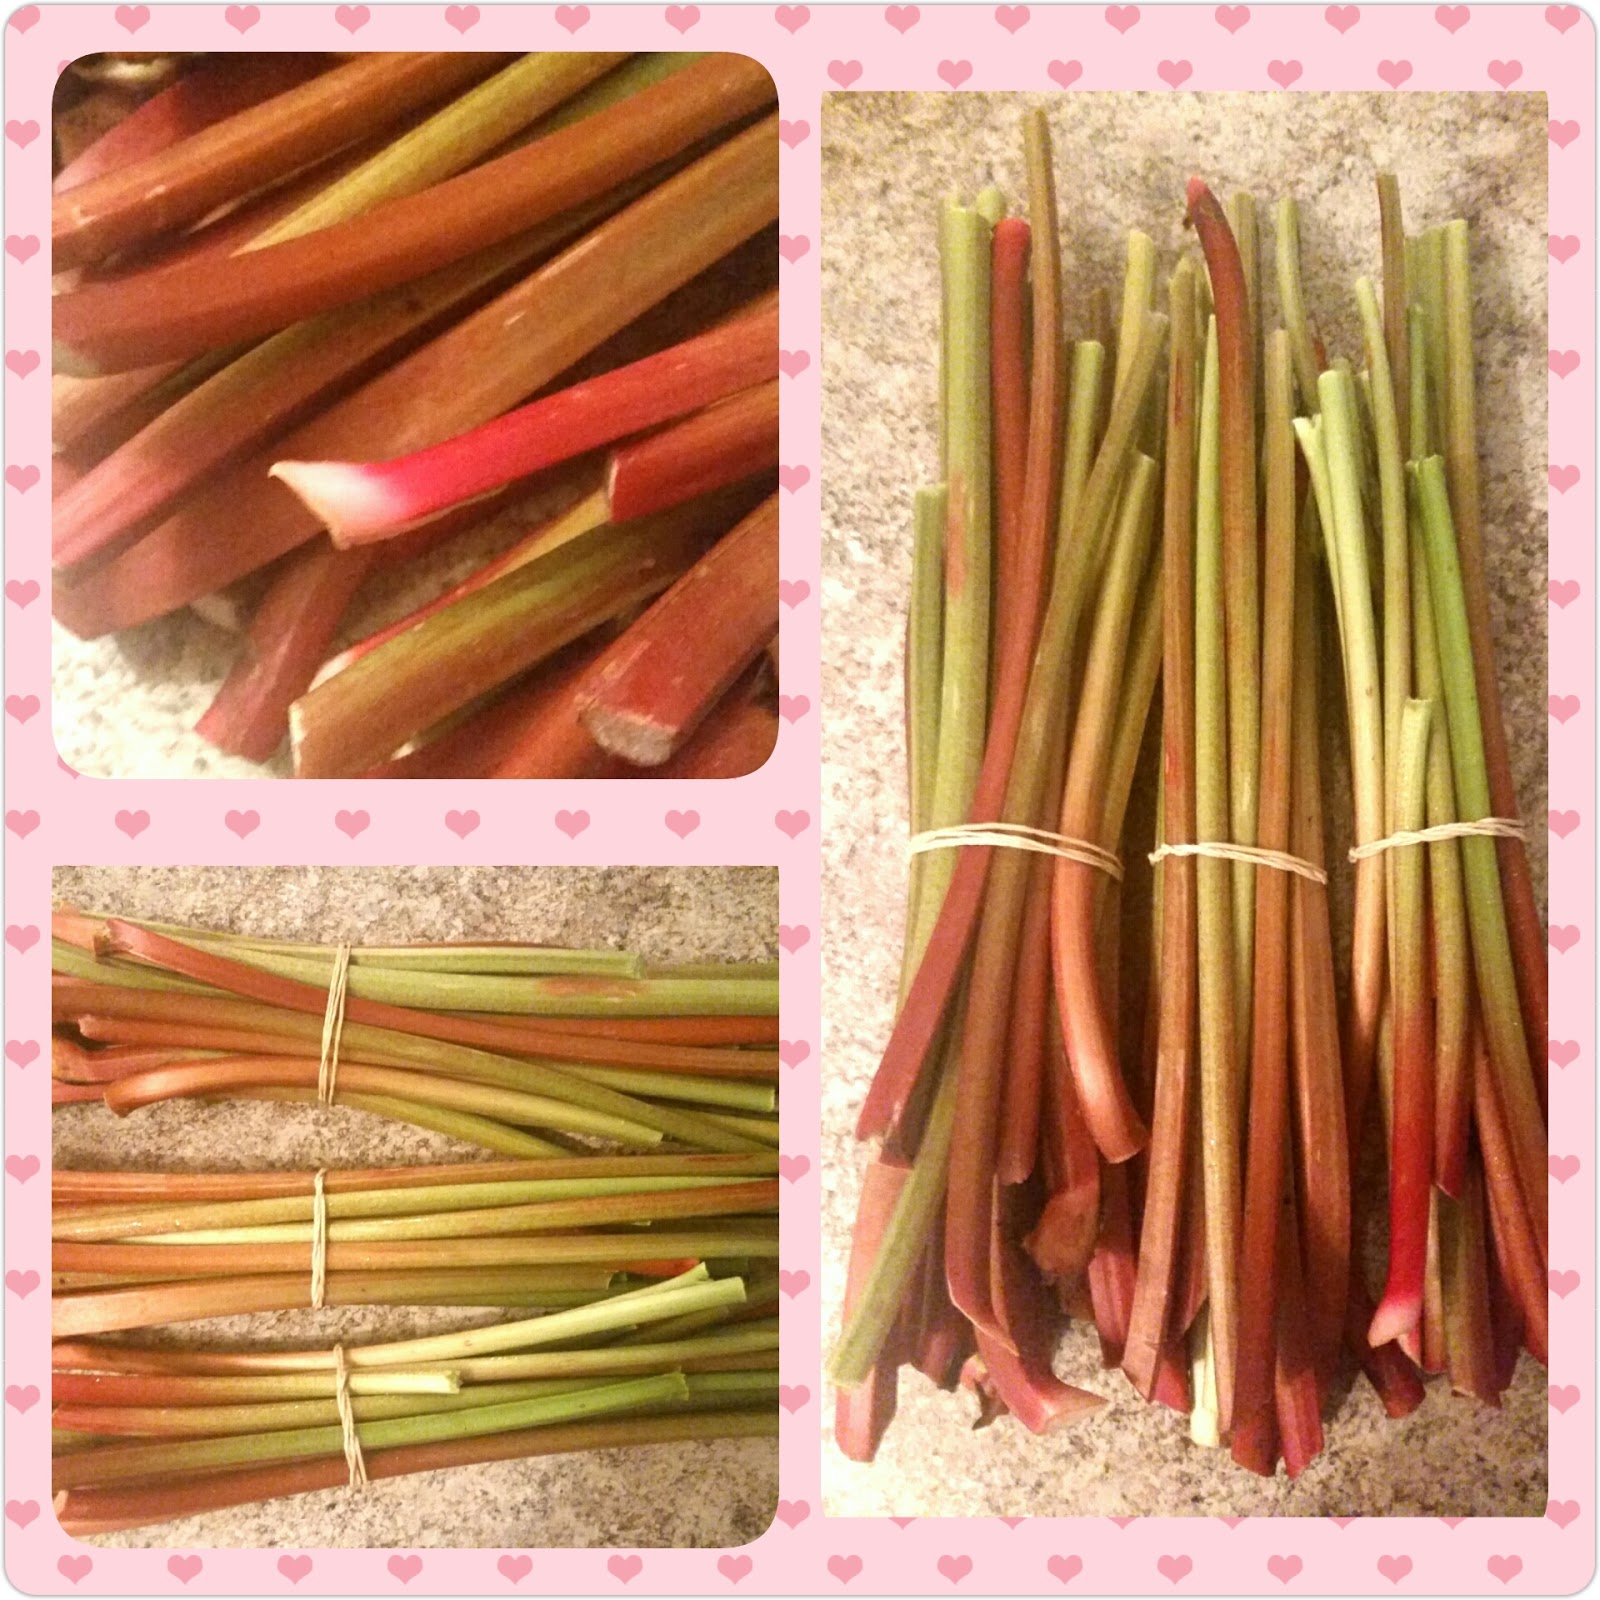
Here's my rhubarb, yes, I got three bunches! Perfect for the 3 year anniversary, fun coinkidink!
 Below is the finished product, I didn't take pictures of the steps as I made this because there was a horrible storm out, the lighting was awful indoors and I was still too run down to make the effort to pull out extra lamps. I did however take pictures a few days later of a ginger rhubarb and cherry variation, which shows a quick breakdown, I also include the how to for that yum scrum recipe down below.
I had to stop eating this compote from regular markets a while ago, as the refined sugar was something I had become unable to tolerate and the amount of sugar used in jams, jellies, and compote/spreads, is so high now that I have found myself not liking it one bit. Hence this recipe that I decided to do on a whim, I used maple syrup and organic coconut sugar aka palm sugar. Yes, these both go through a refinement process and I would not recommend them all the day long, however, they are a great alternative and my tummy does not freak out when I use them. Bonus, they are way less sweet and I find this allows the actual fruit flavour to shine through instead of being masked.
If you have never heard of compote here's a little wikipedia action for you that will get you up to speed:
Compote (French for "mixture") is a dessert originating from medieval Europe, made of whole or pieces of fruit in sugar syrup. Whole fruits are cooked in water with sugar and spices. The syrup may be seasoned with vanilla, lemon or orange peel, cinnamon sticks or powder, cloves, other spices, ground almonds, grated coconut, candied fruit, or raisins. The compote is served either warm or cold.
Compote conformed to the medieval belief that fruit cooked in sugar syrup balanced the effects of humidity on the body. The name is derived from the Latin word compositus, meaning mixture. In late medieval England it was served at the beginning of the last course of a feast (or sometimes the second of three courses), often accompanied by a creamy potage. During the Renaissance, it was served chilled at the end of dinner. Kompot – made from the juice and syrup rather than the fresh – remains a popular drink made from homegrown fruit such as rhubarb, plum, sour cherry or gooseberries in Poland and Russia.
Compote may have been a descendant of a Byzantine dessert.
Because it was easy to prepare, made from inexpensive ingredients and contained no dairy products, compote became a staple of Jewish households throughout Europe.


Thanks wiki! Now for the recipe:

STRAWBERRY RHUBARB COMPOTE:

Ingredients:
4 Cups Fresh chopped rhubarb
3 Cups Sliced strawberries
1/2 Cup Spring water (if using frozen fruits, do not use more than 1/8 Cup of water)
1 tsp Lemon juice
2 Tbsp Vanilla extract
1/2 Cup Coconut sugar
1/4 Cup Maple Syrup (the darker one)
1/4 tsp Sea salt (pink)
2 tsp arrowroot starch mixed with 1 tsp water

Method:

-In a medium non-reactive, heavy based saucepan, add all *ingredients EXCEPT maple syrup and arrowroot starch. Keep the last two aside for now.
-Bring what is in pot to a boil, reduce heat to medium and stir.
-Add maple syrup and stir. Allow to cook on medium heat for 20 minutes, stirring occasionally.
-Add arrowroot starch/water mixture into pot, stir right away until thoroughly incorporated. Allow to cook for 2-3 more minutes until thickened. Turn off heat and remove to hot plate, allow to cool.
-Once cool, you can fill in jars. I use 2x 500 ml mason jars. This recipe is not a canning recipe, it is really meant to be kept refrigerated and eaten within 2 weeks maximum.
-You can use the filling in an already cooked pie shell, as a dessert topping for cake/coffee cake, on ice cream, to layer a parfait, serve with pudding or whipped cream. The possibilities are limited to your imagination. I love it on toast and on waffles.

 *Here is the Cherry, Ginger Rhubarb variation. Talk about YUM! This one I devour on my gluten-free pumpkin spice waffles.

4 Cups Rhubarb chopped
3 Cups Sweet Dark Cherries, pitted
1 tsp Ginger, fresh grated. (use 1/2 tsp if you don't like an intense hit of ginger background flavour)
2 Tbsp Vanilla extract
1/4 tsp pink sea salt
1/2 Cup coconut sugar
1/8 Cup Maple syrup
1/2 Cup water (1/8 Cup if fruit is frozen)
2 tsp Arrowroot starch mixed with 1 tsp water.

Method and storage is the same as above. Please note that this recipe variation does not use the lemon juice. It is not needed, however if you want to add another flavour dimension, feel free to add1 tsp lime juice with the zest of 1 lime. What fun!
Oh, I hope you try this recipe out and let me know all about your kitchen adventures! Leave your comments or questions down below and remember to subscribe.